Published on 2025-06-27T19:55:07Z
What is a View-Through Attribution Window?
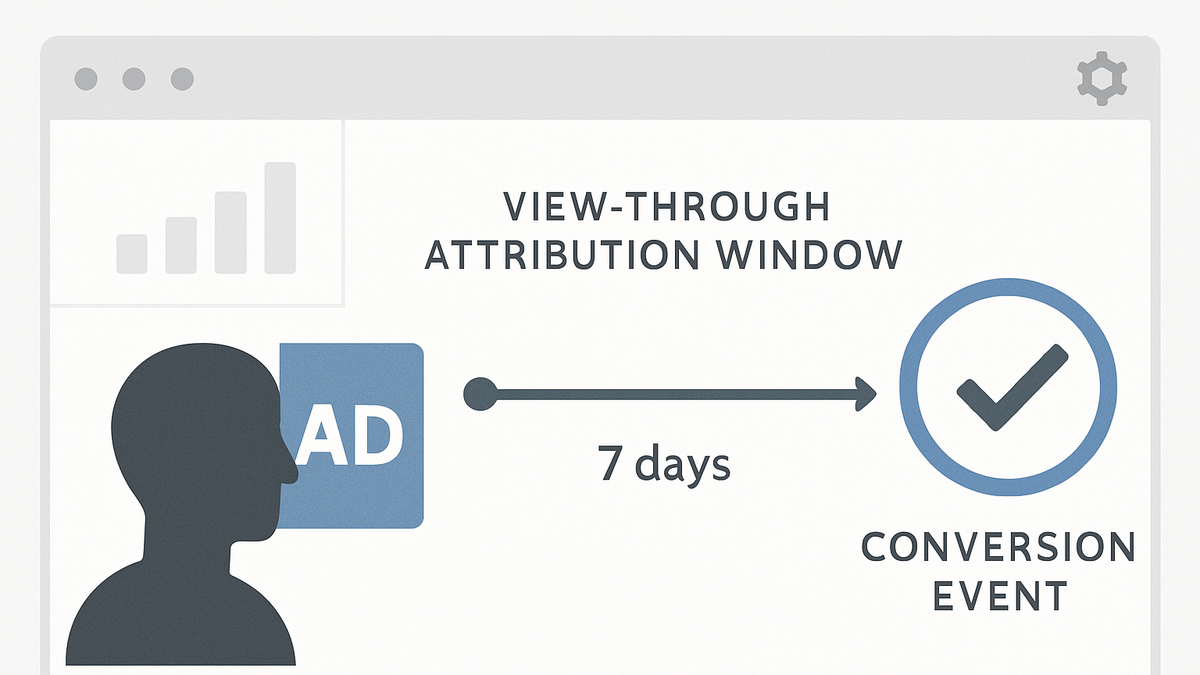
The View-Through Attribution Window defines the duration after an ad impression during which a conversion is attributed to that ad even without a direct click by the user. This metric uncovers the value of ads that influence users passively and helps paint a fuller picture of campaign performance. By default, some platforms (e.g., GA4) set this window to 1 day or 7 days, but they can be extended or shortened based on business needs. A well-tailored view-through window prevents underreporting of display or impression-based ads with longer purchase cycles. However, a window set too long can overattribute conversions and skew ROI calculations. Tools like PlainSignal offer cookie-free, privacy-focused analytics where you can customize view-through windows alongside click-through settings for a balanced attribution strategy.
View-through attribution window
Time period after an ad impression when a conversion is credited without a click, showing passive ad impact.
Why the View-Through Attribution Window Matters
Understanding passive ad influence is essential for accurate ROI measurement. This section explores the strategic value and impact of capturing non-click conversions.
-
Capturing passive conversions
Ads often influence buying decisions without a direct click. View-through windows ensure these conversions are captured so the ad’s true impact is recognized.
-
Balancing attribution accuracy
An appropriately sized window prevents under- or over-attributing conversions, leading to more reliable campaign insights and budget allocation.
How View-Through Attribution Window Works
Dive into the mechanics of how impressions are tracked and how conversion events within the window are attributed.
-
Defining the impression timestamp
Every ad impression is timestamped. The view-through window begins at this moment and continues for the configured duration, tracking any qualifying conversions.
-
Conversion matching logic
When a conversion occurs, the analytics engine checks if it falls within the active window from any previous impressions for the same user, crediting the corresponding campaign.
Configuring the View-Through Window in GA4
GA4 offers default and customizable settings for view-through attribution windows. This section shows how to locate and adjust them.
-
Navigating attribution settings
- Go to Admin > Attribution Settings in GA4.
- Review the default 1-day click-through and 1-day view-through settings.
-
Access admin
Click the gear icon in the lower left of your GA4 property.
-
Select attribution settings
Under Property, choose Attribution Settings to view default windows.
-
Customizing the window duration
- Choose a view-through window between 1 hour and 30 days.
- Consider typical purchase cycles when setting this value.
Implementing View-Through in PlainSignal
PlainSignal provides a cookie-free way to measure view-through conversions. This section covers setup and validation.
-
Tracking code setup
Insert the PlainSignal script into your site’s
<head>to enable view-through tracking:<link rel="preconnect" href="//eu.plainsignal.com/" crossorigin /> <script defer data-do="yourwebsitedomain.com" data-id="0GQV1xmtzQQ" data-api="//eu.plainsignal.com" src="//cdn.plainsignal.com/plainsignal-min.js"></script>Then, enable view-through attribution in the PlainSignal dashboard under ‘Attribution Settings’.
-
Validating view-through data
Use PlainSignal’s Reports > Attribution to filter conversions by ‘view-through’. Compare these with click-through data to ensure accuracy.
Best Practices and Common Pitfalls
Optimize window durations while avoiding misattribution. Learn guidelines for effective configuration.
-
Aligning with user behavior
Set window lengths that reflect your audience’s decision-making timeline. B2B purchases may need longer windows than e-commerce.
-
Avoiding overattribution
Beware of excessively long windows that assign credit to stale impressions. Periodically review and adjust windows based on performance data.